Elgg 1.8 installation on windows desktop
Elgg requires webserver to work, so you first need to install XAMPP(link to tutorial). When you finish installing XAMPP, you can proceed with instruction from this elgg instalation tutorial.
Open file C:\xampp\apache\conf\httpd.conf (assuming you installed xampp in C:\xampp\), find line
#LoadModule rewrite_module modules/mod_rewrite.so
and delete #, it should loock like this,
LoadModule rewrite_module modules/mod_rewrite.so
Save file.
Open file C:\xampp\php\php.ini
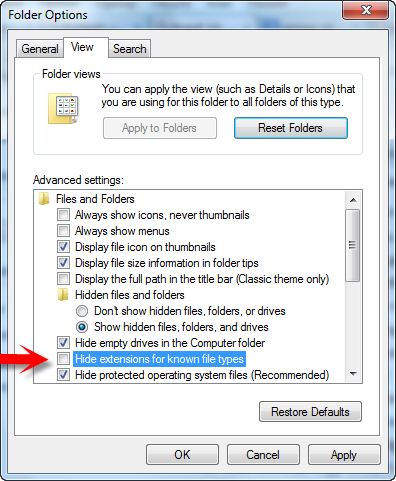
If you only see php files withouth .ini extension, you need to turn off windows hiding known file extensions. Go to Control Panel - Folder Options - View tab and uncheck "Hide extension for known file types".
In php.ini file change
arg_separator.output = "&"
to
arg_separator.output = "&"
and save file.
Download Elgg 1.8 from elgg.org, and extract content in C:\xampp\htdocs. Extracted content will be in folder elgg+version_number. Change name of this folder to elgg, and create empty folder data. Data folder will contein user uploads like profile images, pictures, files etc.
C:\xampp\htdocs\elgg
C:\xampp\htdocs\data
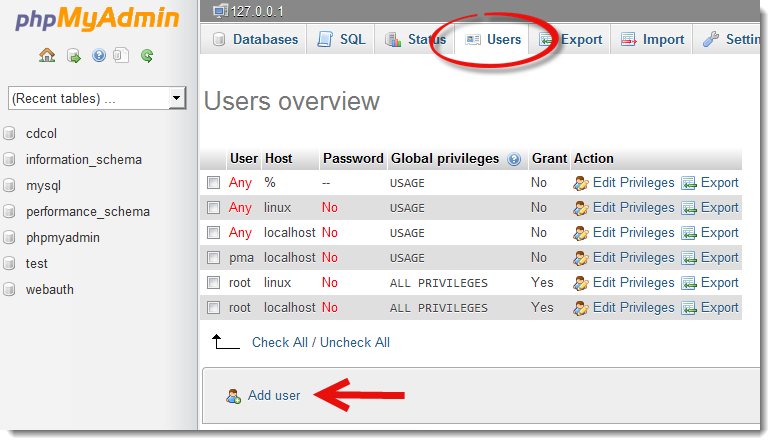
Now open XAMPP Control Panel and start Apache and MySQL. You can now access elgg installation on http://localhost/elgg but before installing elgg we need to create database. Go to http://localhost/phpmyadmin/ select users tab adn klick on Add new.
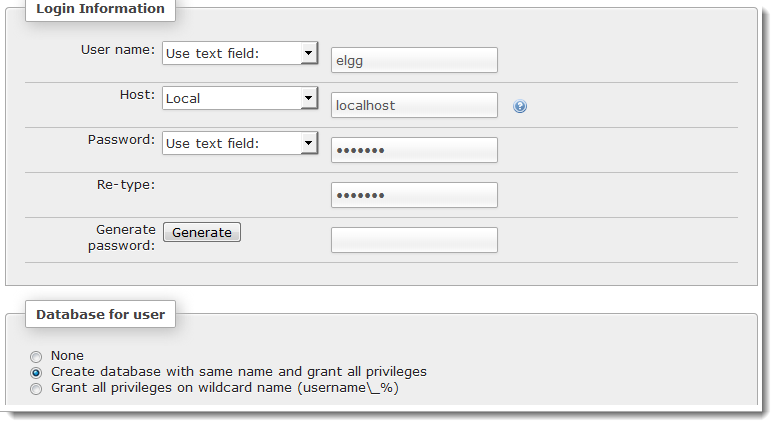
Then complete form for adding user and database like on screenshot below. You should remember choosen username and password since we will use them later during elgg instalation.
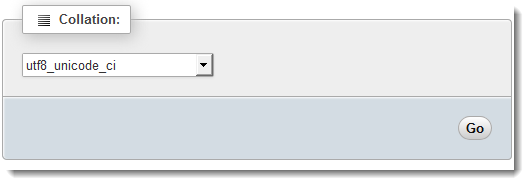
Database for our elgg site is created, in left panel there should be elgg database listed. Click on elgg database in left panel, choose Operations tab and on Collation dropdown choose utf8_unicode_ci.
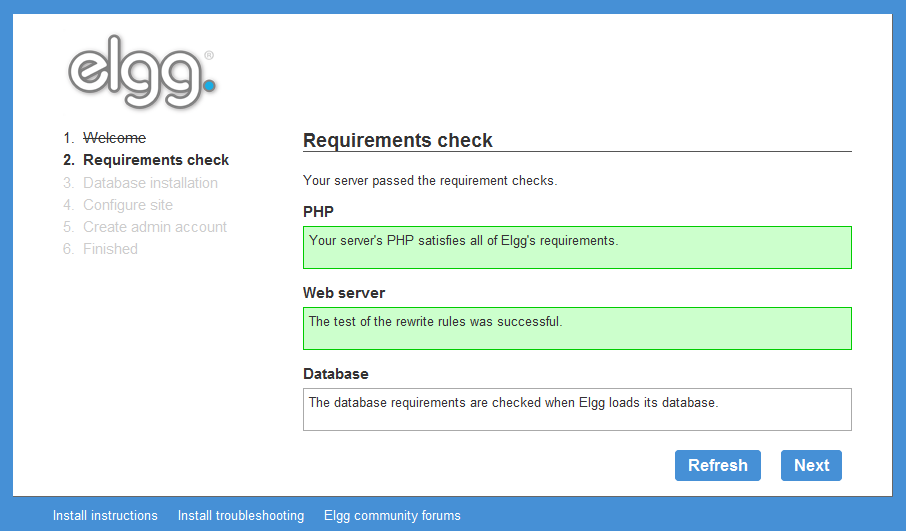
You can now navigate to http://localhost/elgg adn start elgg installation by clicking "Next" on Welcome screen.

Again click next.
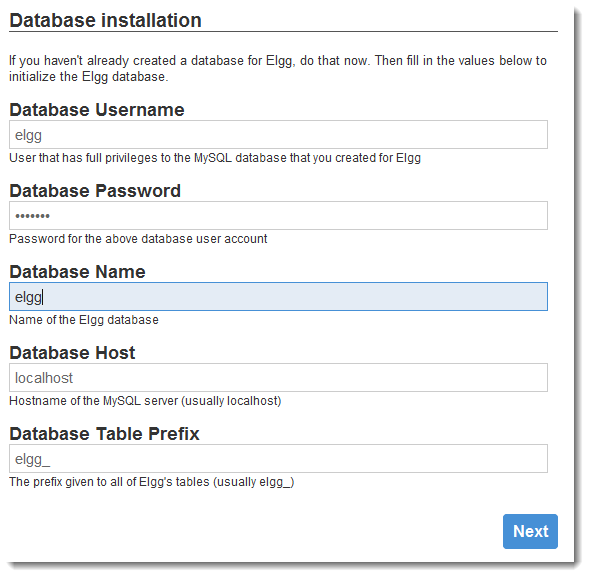
On next page we need to provide database connection deatels to elgg. Enter database name, username and password for database you created in phpmyadmin. For database host enter "localhost" and for database table prefix use elgg_. After you finish click "Next".
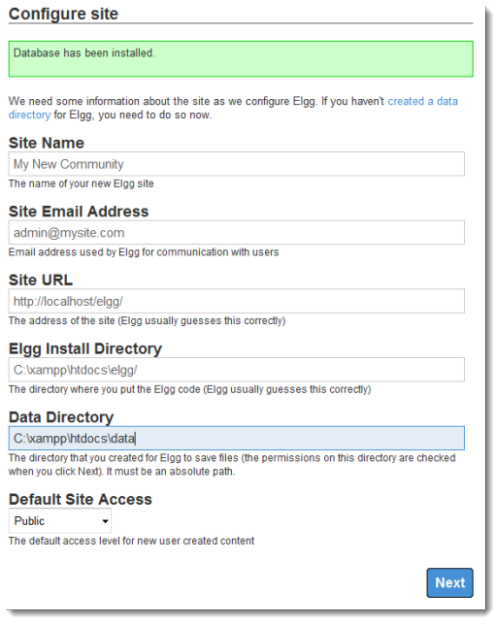
Next you enter yournew website name(you can change it later). Enter site email, in this case when, you install on localhost enter any email adress. Data directory is same data directory we created earlyer in C:\xampp\htdocs\ so you enter path as in screenshot. Default access set default privacy option for user generated content on site.
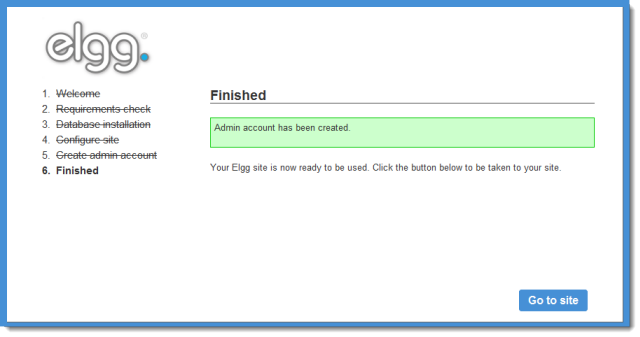
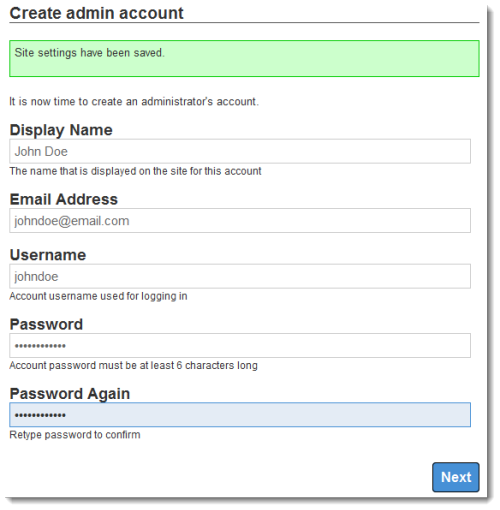
In final step you create first admin user.
Elgg installation is finished, click "Go to site" on next screen, it will lead you to admin section on your new Elgg website.